
Chest contouring for female patients has emerged as a leading option when you seek natural breast augmentation, reconstruction, or post-pregnancy restoration using your own fat cells. By harvesting adipose tissue from donor sites and strategically grafting it into your chest, you can achieve subtle volume enhancement, improved symmetry, and scar revision—all without implants. In this guide, you’ll learn how chest contouring works, explore regenerative fat grafting techniques, prepare for your procedure, manage recovery, and select the right surgeon for your goals.
Understanding chest contouring
What is chest contouring
Chest contouring for female patients refers to a suite of procedures designed to reshape, restore, or augment the breasts and surrounding chest area using various surgical techniques. While traditional approaches often rely on implants, natural methods focus on autologous fat transfer—liposuctioning fat from one part of your body and grafting it into your breasts. This regenerative breast contour procedure emphasizes gentle sculpting and tissue regeneration to create a personalized outcome.
Benefits of natural approach
- Natural look and feel, since you’re using your own tissue
- Lower risk of implant-related complications, such as capsular contracture
- Dual benefit of body sculpting at the donor site and breast enhancement
- Potential improvement in skin quality and scar revision using fat grafting [1]
- Long-term stability of results when fat cells establish a blood supply
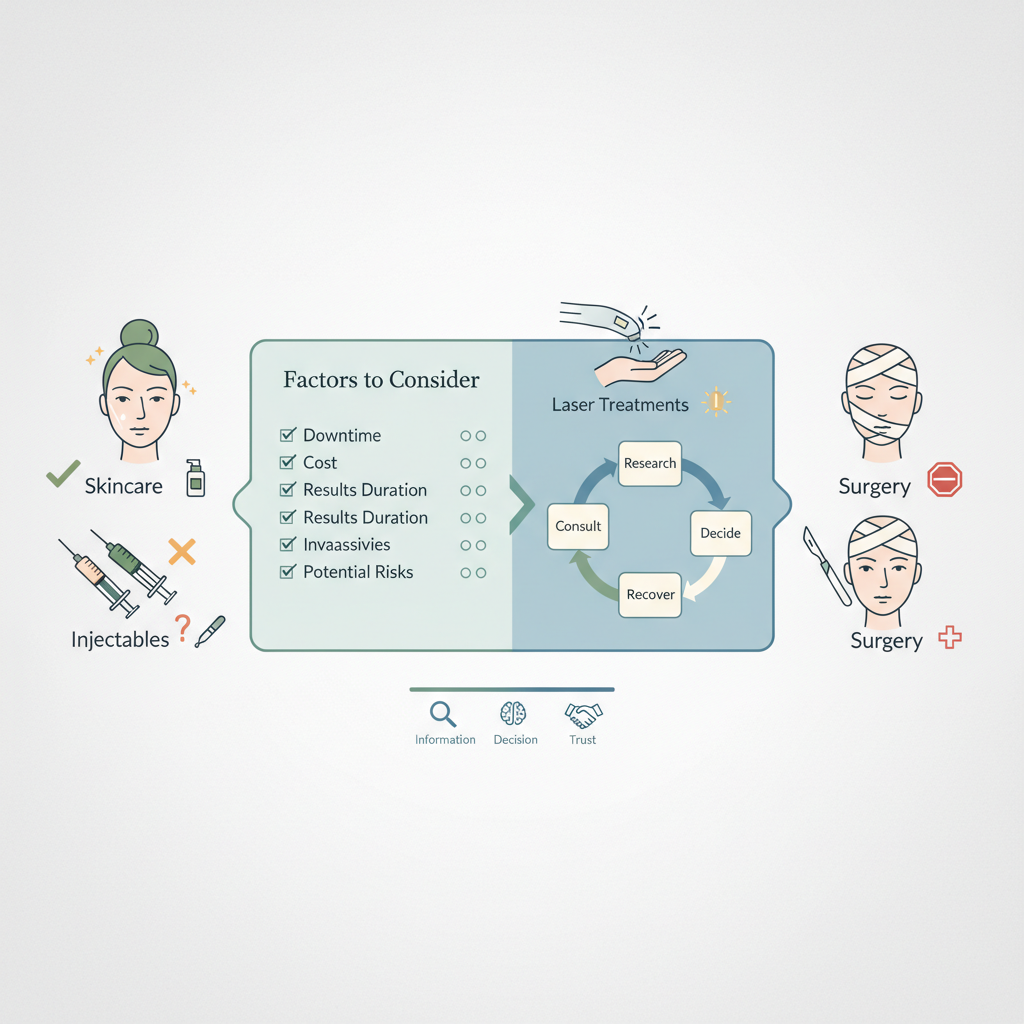
Comparing contouring options
| Feature | Fat grafting | Implants | Breast lift |
|---|---|---|---|
| Material | Autologous fat | Silicone or saline | Native tissue |
| Incision size | Small liposuction and injection sites | Larger incisions around breast | Periareolar or anchor pattern |
| Scar profile | Minimal pinpoint marks | Visible implant scars | Lift scars fade over months |
| Recovery time | 1–2 weeks for daily activities | 4–6 weeks before strenuous work | 5–7 days until gentle activity |
| Risk of reoperation | Low when grafted properly | Moderate due to implant issues | Low to moderate, depends on skin |
By understanding these differences, you can weigh your options and decide if autologous fat transfer aligns with your aesthetic vision and lifestyle.
Exploring fat grafting techniques
Harvesting donor fat
Your surgeon identifies areas with sufficient adipose tissue—often the abdomen, flanks, or thighs—and performs gentle liposuction to harvest fat. This step sculpts the donor site while collecting viable fat cells. The harvested tissue undergoes careful processing to separate pure adipocytes from fluid and oil.
Purifying and preparing
Once extracted, the fat is centrifuged or filtered to concentrate healthy fat cells. This purification minimizes inflammation and maximizes graft survival. The resulting cell-rich concentrate is stocked into syringes for precise injection.
Injecting and sculpting
Your surgeon injects small aliquots of purified fat into the breasts using microcannulas. By layering fat at different depths, they create a smooth, three-dimensional contour and address asymmetry. If you’re combining fat transfer with other techniques—such as a breast lift with fat transfer support—your surgeon can reposition tissue and improve shape while augmenting volume [2].
Applications of fat grafting
- Natural breast augmentation without implants [3]
- Post-pregnancy restoration and volume recovery [4]
- Breast reconstruction and symmetry correction [5]
- Scar revision and soft tissue regeneration [1]
- Post-implant removal contouring [6]
Preparing for your procedure
Initial consultation
Your journey begins with a detailed consultation. You’ll discuss your goals, review medical history, and examine the areas you want to address. This is the time to explore options like breast fat grafting for symmetry or breast contour restoration without implants. Bring photos of results you admire and prepare questions about technique, expected outcomes, and recovery.
Health evaluation
To ensure safety and optimal results, your surgeon may order blood work or imaging, especially if you’ve had prior surgeries. According to Ohio State Wexner Medical Center, candidates for chest contouring should have a stable weight and adequate nutritional intake to promote healing [7]. If you’ve undergone bariatric surgery, a minimum of 18 months of weight stabilization is advised.
Pre-op guidelines
- Stop smoking at least four weeks before surgery to enhance graft take and reduce complications
- Avoid anti-inflammatory medications like ibuprofen, which can increase bleeding risk
- Arrange for a responsible adult to drive you home and assist during the first 24–48 hours
- Prepare loose, comfortable clothing that fastens in front to avoid stretching injection sites
By following these guidelines, you’ll create the best environment for your fat grafts to vascularize and thrive.
Managing post-op recovery
Typical timeline
Recovery after chest contouring usually progresses in stages:
- Days 1–7: Expect swelling, bruising, and mild discomfort. Over-the-counter pain relievers help manage soreness.
- Weeks 2–4: Swelling begins to fade. You can resume light daily activities but should avoid strenuous exercise.
- Weeks 6–8: Most patients return to regular workouts and heavier tasks. Fat cells have established most of their blood supply.
- Months 3–6: Final contour emerges as residual swelling resolves and grafted fat integrates fully.
A study from Memphis Plastic Surgery reports that full recovery from body contouring procedures takes six to eight weeks, with light-duty work possible within one to three weeks [8].
Scar care and revision
Even micro-incisions benefit from proper care. Keep sites clean, apply recommended topical ointments, and protect healing skin from sun exposure. If you have existing scars—such as from prior implants—you can discuss scar revision using fat grafting to soften and restore tissue quality.
Resuming activities
- Walk daily to promote circulation and reduce blood clots
- Avoid lifting your arms above 90 degrees or carrying heavy weights for four weeks
- Follow your surgeon’s instructions on compression garments or bras
- Attend all scheduled follow-up visits to monitor healing
By adhering to your surgeon’s guidelines, you’ll support optimal fat graft survival and long-term contour.
Assessing potential risks
Possible complications
While chest contouring with fat transfer is generally safe, you should be aware of:
- Bleeding or hematoma formation
- Infection at donor or injection sites
- Poor graft survival leading to volume loss
- Fat necrosis or cyst formation
- Uneven texture or contour irregularities
UMass Memorial Health notes that any chest contouring surgery carries risks such as bleeding, infection, and poor wound healing, and may require revision procedures [9].
Minimizing risks
- Choose a board-certified plastic surgeon with extensive fat grafting experience
- Comply strictly with pre- and post-op instructions
- Maintain a healthy lifestyle, including balanced nutrition and hydration
- Report any concerns—such as fever, unusual pain, or redness—to your surgeon promptly
Proactive steps and clear communication reduce the likelihood of complications and support a smoother recovery.
Selecting the right surgeon
Evaluating credentials
Your surgeon’s training, certification, and body contouring portfolio are critical. Confirm they are board-certified by the American Board of Plastic Surgery and regularly perform fat grafting procedures. Review patient testimonials and before-and-after galleries.
Key questions to ask
- How many fat transfer breast procedures have you performed?
- Can I see before-and-after photos of patients with similar anatomy?
- What is your complication and revision rate?
- How do you ensure graft viability and even contour?
- What support do you offer during recovery?
Reviewing these details ensures you find a partner dedicated to your safety and aesthetic goals.
Conclusion
Natural chest contouring with fat grafting offers you a tailored path to enhanced shape, symmetry, and tissue regeneration—without relying on implants. By understanding the techniques, preparing carefully, managing recovery, and selecting a skilled surgeon, you’ll maximize your results and enjoy a more natural breast profile. To explore specialized options like regenerative chest sculpting technique or volume restoration with natural fat, schedule your consultation today and take the first step toward your personalized chest contouring journey.
References
- (scar revision using fat grafting)
- (breast lift with fat transfer support)
- (natural breast augmentation fat transfer)
- (natural enhancement after pregnancy)
- (fat transfer for breast reconstruction)
- (post implant removal fat transfer)
- (Ohio State Health & Discovery)
- (Memphis Plastic Surgery)
- (UMass Memorial Health)